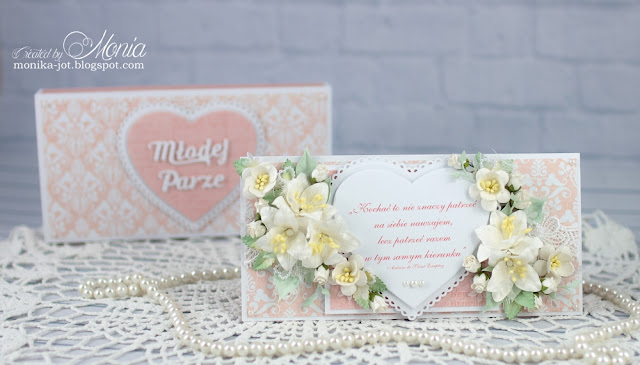
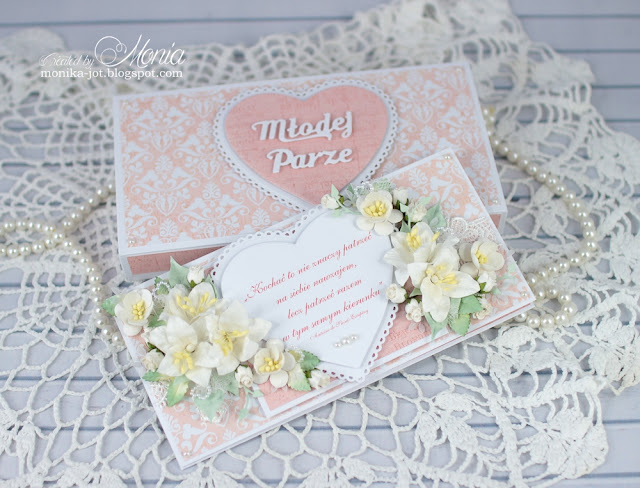
Dzisiaj pokażę Wam, jak zrobić
takie kwiaty, tym razem przygotowałam kurs w wersji dwujęzycznej.
Potrzebujemy:
wykrojnik Marianne D COL1393
papier mulberry RB2219
klej
mata do embossingu
szydło
Supplies:
Flower Marianne D COL1393
Mulberry paper RB2219
Glue
Piercing mat or mouse pad
Skewer
1. Z papieru mulberry RB2219
wycinamy 12 płatków i pręciki.
Cut out 12 petals using mulberry paper and Marianne D COL1393.
2. Kładziemy poszczególne płatki na
macie i na ich dolnej stronie szydłem rysujemy żyłki. Zaczynamy na górze płatka, kończymy w dolnej
części.
Lay each flower on the mat face down and move the skewer drawing
lines at every petal. Start at the top of the petal and stop at the end.
3. Każdy z pręcików naciskamy
szydłem na środku. Będą w centrum kwiatka i powinny mieć wygięte do góry
brzegi.
Place stamens on the mat and push down in the center of each one with a
skewer to shape. The stamens are going to be flat at the center and have
turned up edges.
4. Odwracamy wszystkie
płatki, teraz widać linie, jakie narysowaliśmy szydłem. Bierzemy 6 płatków,
nakładamy trochę kleju na środek i sklejamy razem.
Lay all petals top side up, now you can see there are line on them. Take
6 petals, apply some glue at the center and glue all petals together.
5. Bierzemy kolejne 4 płatki, sklejamy
je razem i przyklejamy w centrum kwiatka. Pamiętamy, aby przyklejać płatki
naprzemiennie, nie mogą się pokrywać w poszczególnych warstwach.
Take other 4 petals, glue them together and add to the first layer of
our flower. Try to glue the petals alternately, so that the edges of each next
petal do not overlap.
6. Przyklejamy w centrum pozostałe
dwa płatki.
Add last 2 petals in the center.
7. Nakładamy trochę kleju w środku
kwiatka i przyklejamy pręciki. Wciskamy mocno szydło na środku kwiatka, aby
płatki się uniosły, a nasz kwiatek zaczął wyglądać jeszcze bardziej
przestrzennie.
Then apply in the center some glue and adhere stamens. Push down a skewer
in the center of the flower to make it look more dimensional.
Mam nadzieję, że mój kurs Wam się przyda. Jeśli go użyjecie, pochwalcie się efektami, z przyjemnością obejrzę Wasze wersje poinsecji :)


